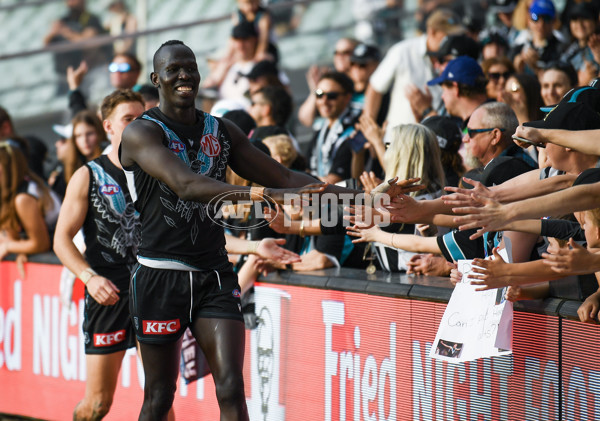
AFL 2023 Round 12 - Port Adelaide v Hawthorn - A-39581535 - AFL Photos
Por um escritor misterioso
Last updated 13 abril 2025

AFL 2023 Round 13 - Hawthorn v Brisbane - AFL Photos

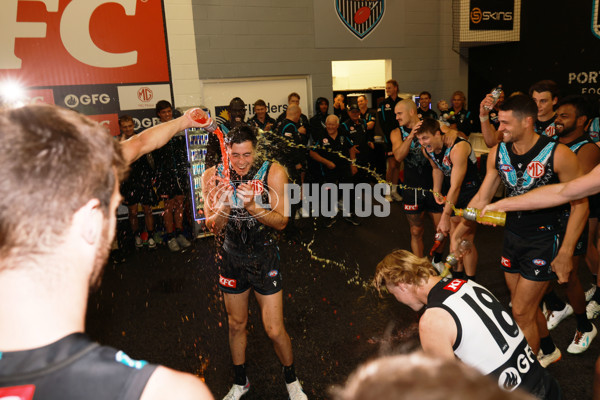
Port Adelaide v Hawthorn Highlights, Round 12, 2023
Galleries - AFL Photos

Galleries - AFL Photos
AFL 2023 Round 12 - Port Adelaide v Hawthorn - AFL Photos
Galleries - AFL Photos

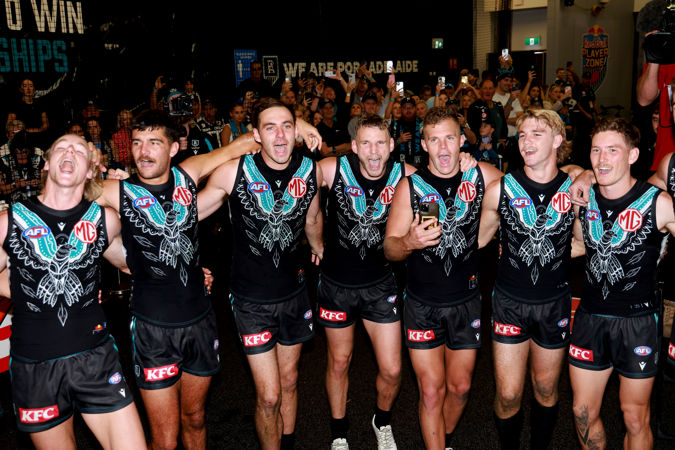
AFL 2023 Round 19 - Port Adelaide v Collingwood - AFL Photos
Port Adelaide vs Collingwood – Round 19 – Preview & Prediction

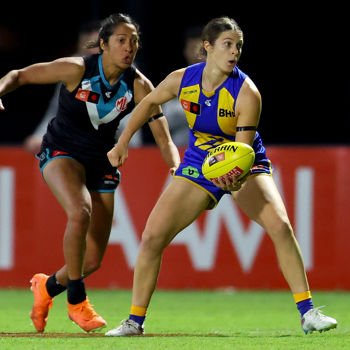
2023 - AFL Round 12 vs Port Adelaide
Galleries - AFL Photos

AFL 2023 Round 12 - Port Adelaide v Hawthorn
AFL 2023 Round 12 - Port Adelaide v Hawthorn - A-39578418 - AFL Photos
Recomendado para você
-
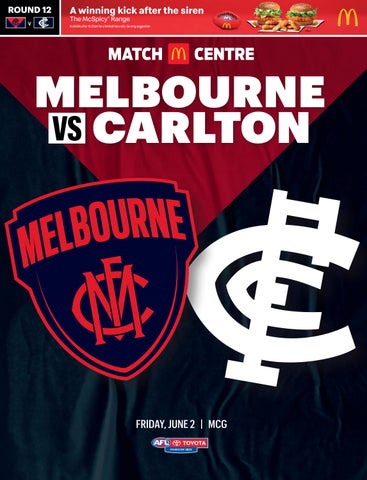 AFL Record Match Centre, Round 12, 2023 by Crocmedia Lifestyle1 - Issuu13 abril 2025
 -
 AFL Round 12 Tips & Predictions13 abril 2025
 -
 AFL 2023 Round 12 – Betting tips & Predictions13 abril 2025
 -
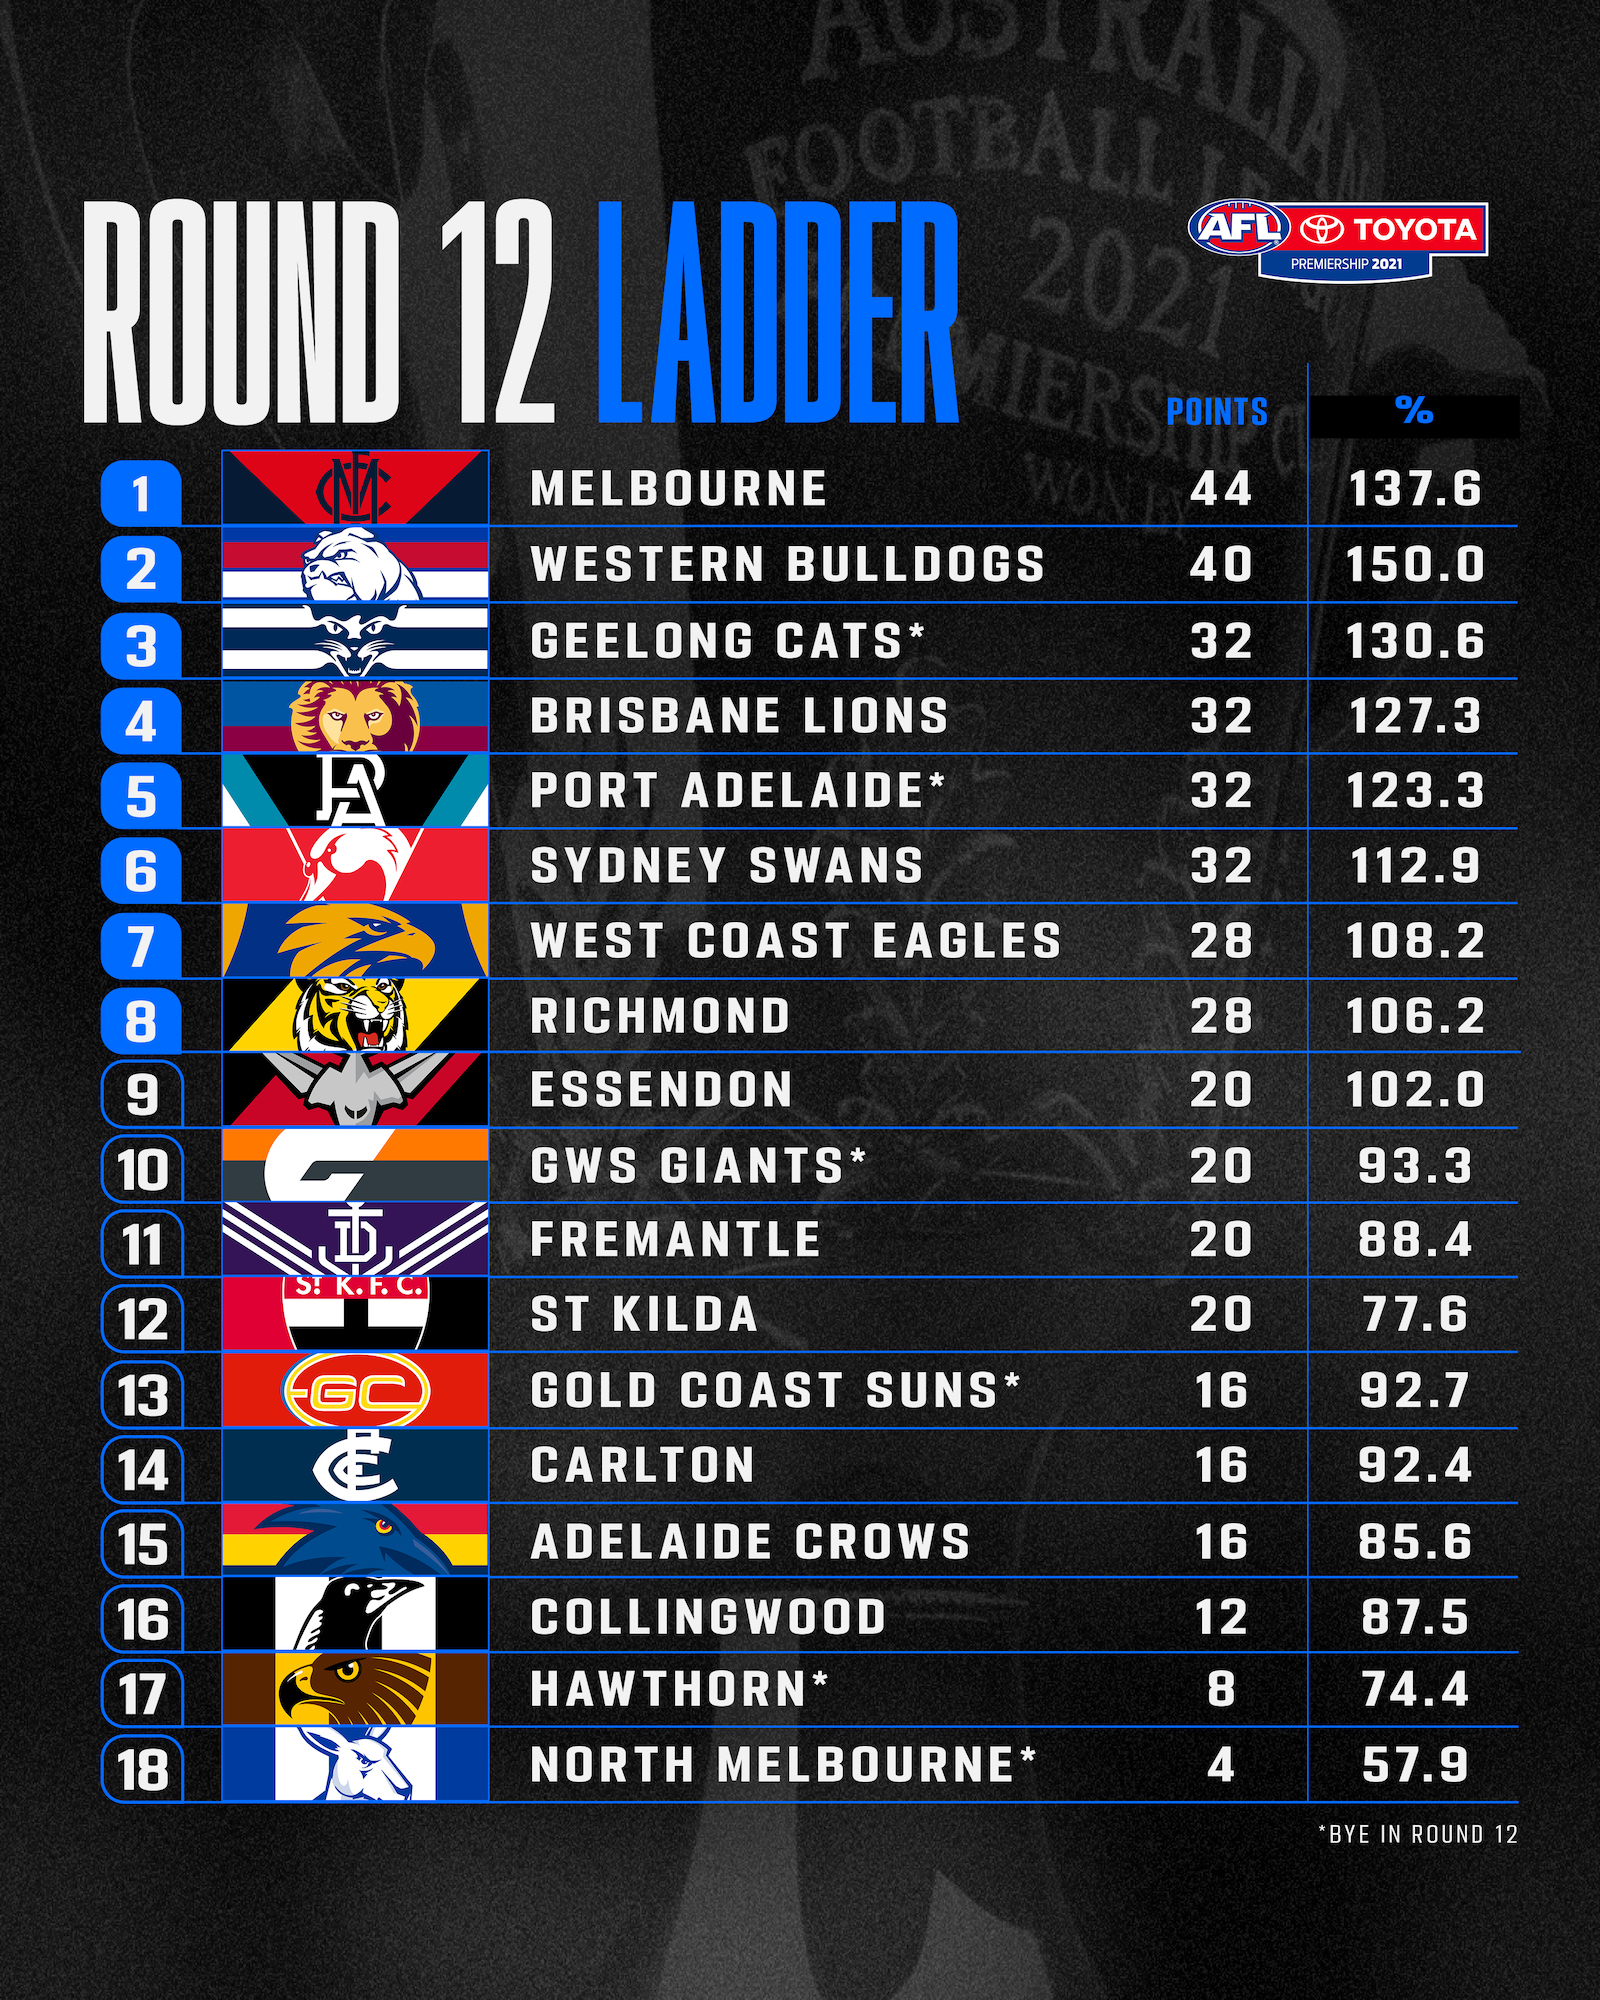
AFL on X: The ladder as it stands after round 12 ✓ / X13 abril 2025
-
 Injury update: Round 1213 abril 2025
 -
 GWS Giants v Richmond Highlights, Round 12, 202313 abril 2025
 -
 CBAs Analysis: Round 12, 2022 - AFL Fantasy - The Keeper League13 abril 2025
 -
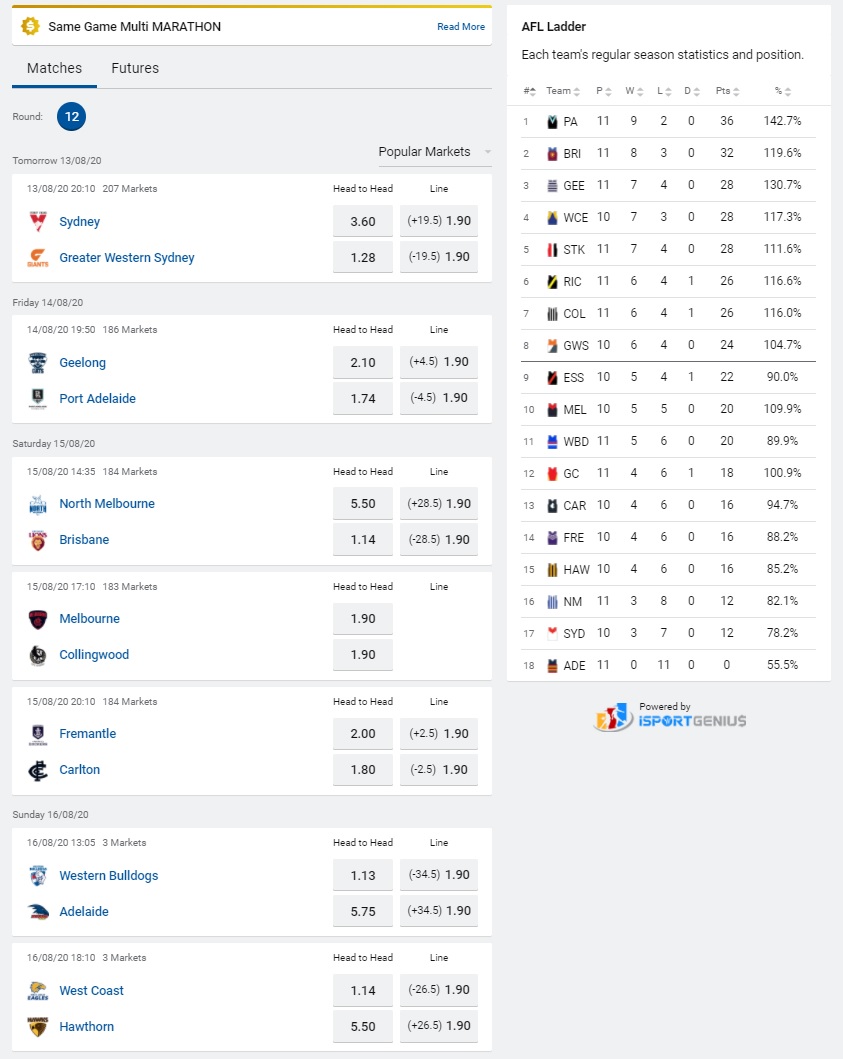 2020 AFL Round 12 Odds13 abril 2025
 -
 Team Selection: Round 1213 abril 2025
 -
 Round 12 Weekly Update13 abril 2025
você pode gostar
-
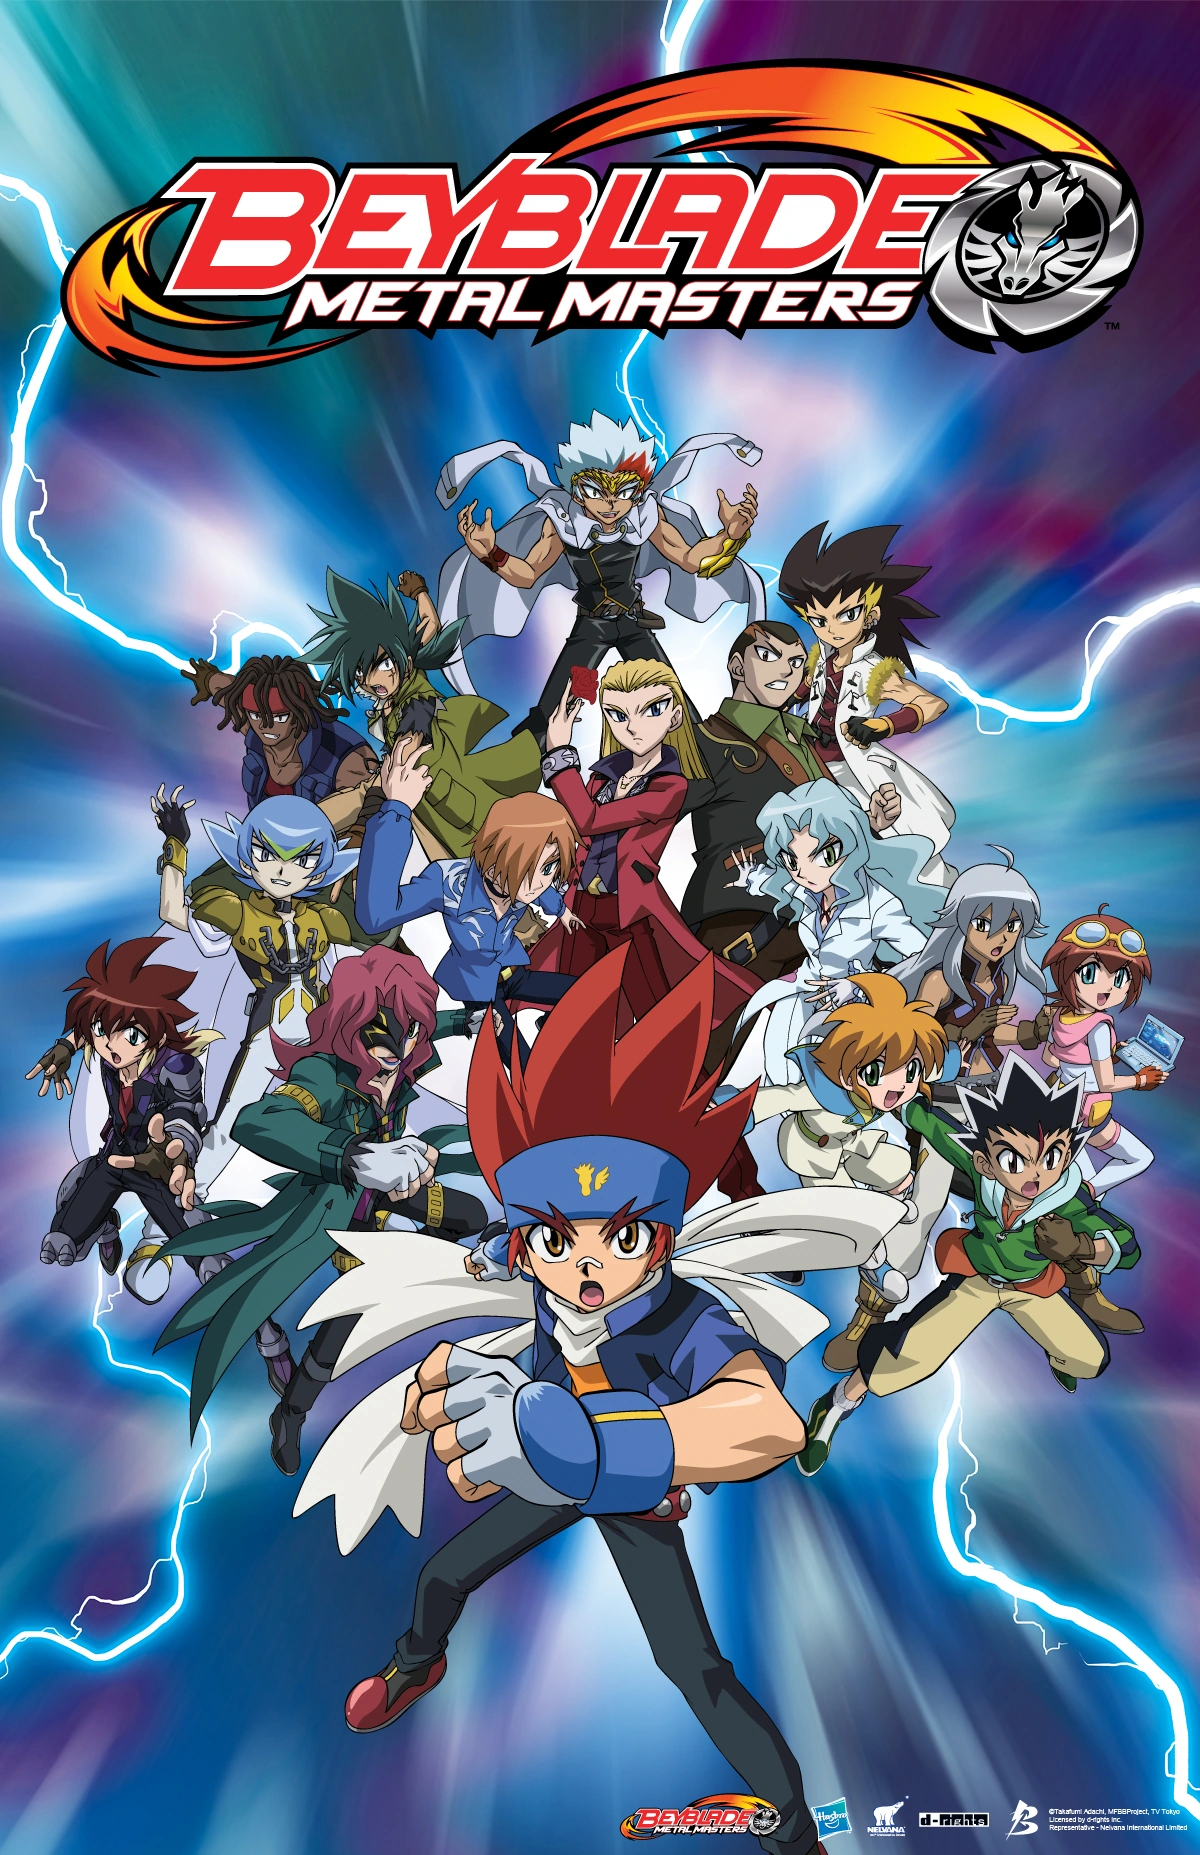 Beyblade: Metal Masters, Dubbing Wikia13 abril 2025
 -
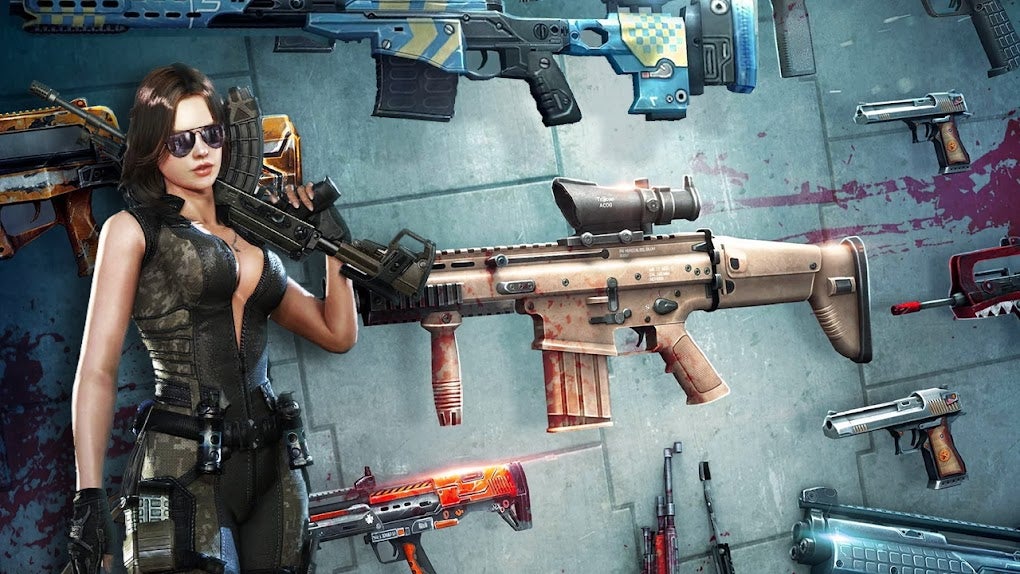 Modern Strike Ops: Mission-FPS para Android - Download13 abril 2025
 -
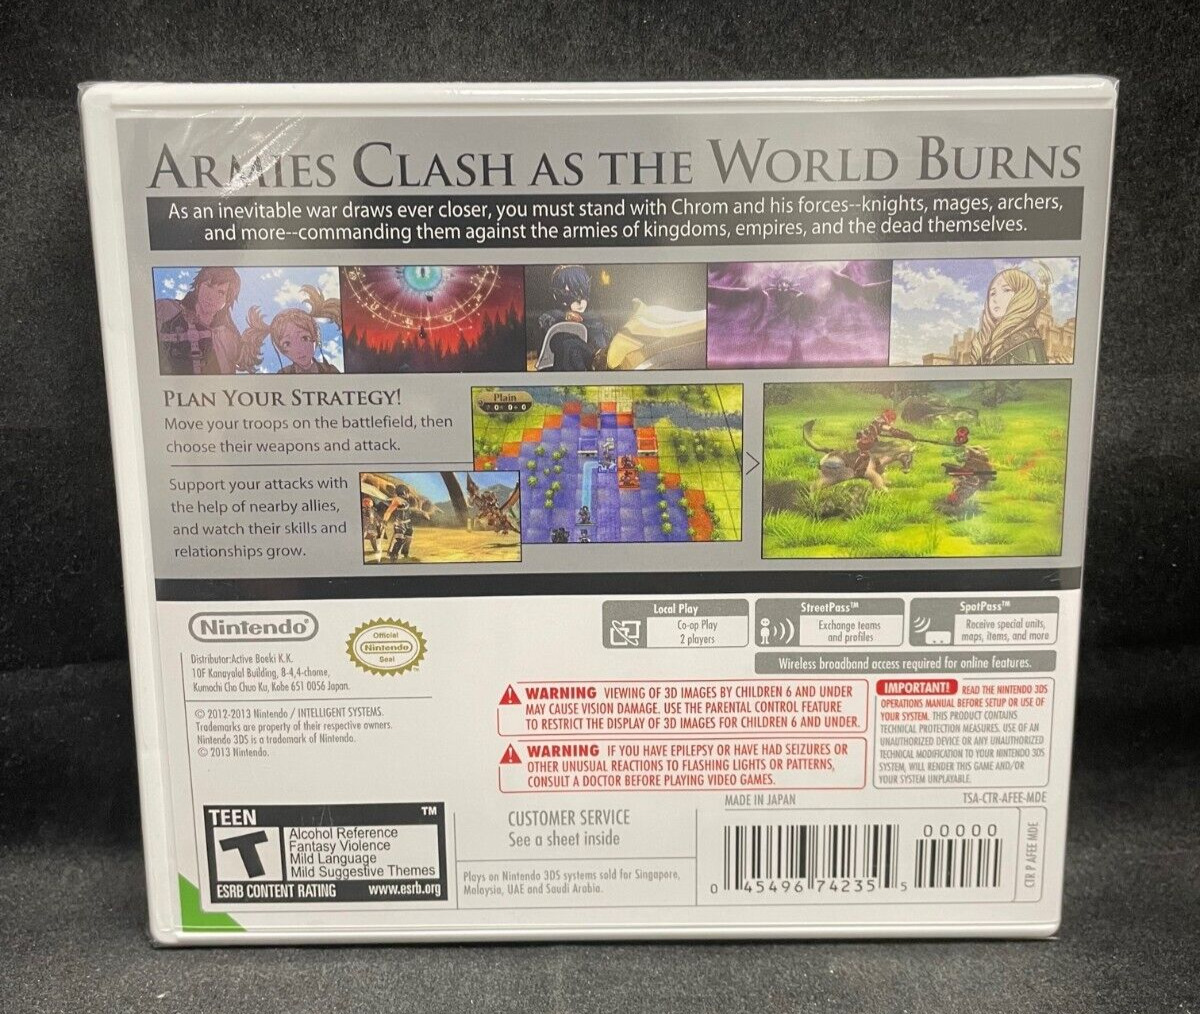 Fire Emblem: Awakening (Nintendo 3DS) BRAND NEW World Version13 abril 2025
 -
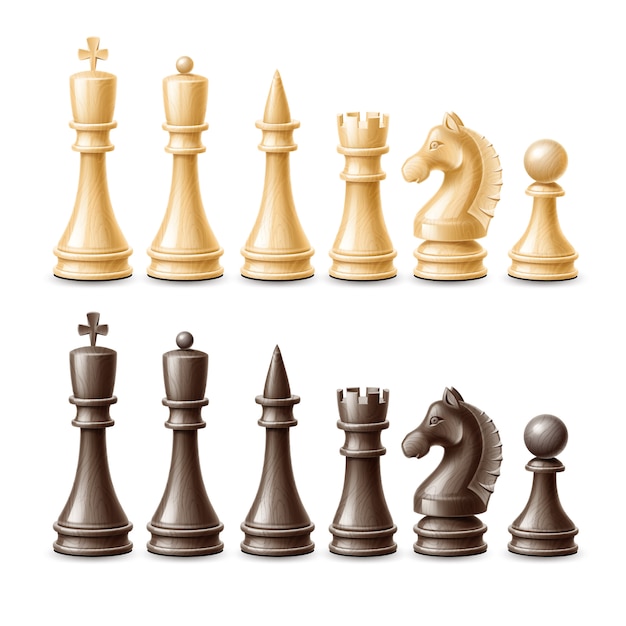 Conjunto de peças de xadrez 3d realista de vetor preto e branco13 abril 2025
 -
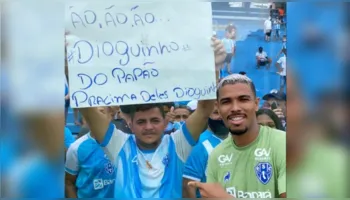 Dioguinho diz estar ansioso para vestir a camisa do Paysandu • DOL13 abril 2025
 -
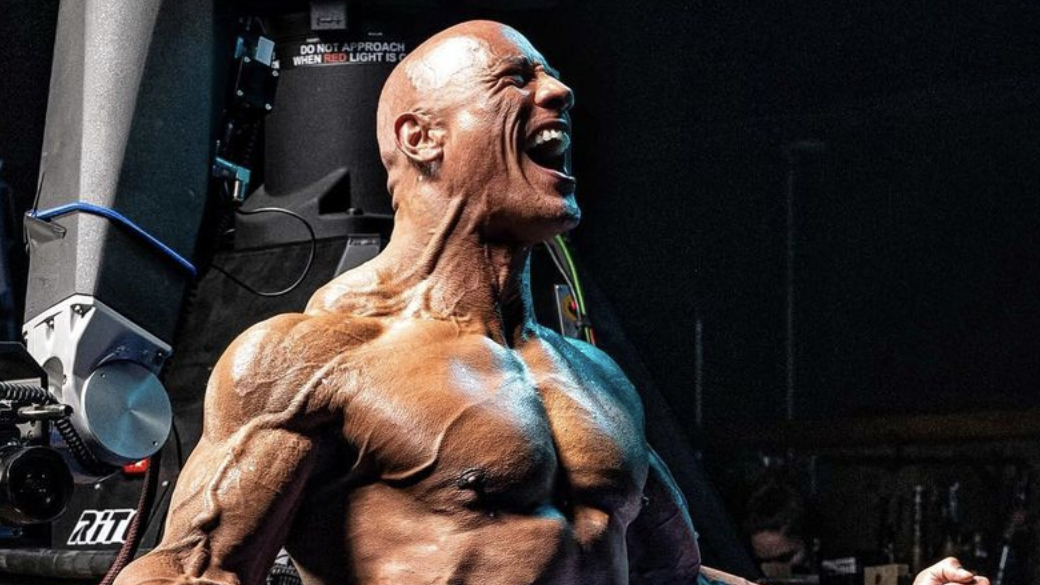 Así trabaja The Rock sus abdominales para conseguir un core de acero13 abril 2025
 -
 Xadrez Preto E Branco Fundo - Imagens grátis no Pixabay - Pixabay13 abril 2025
 -
 Dragon Ball: 10 Fights That Are Better In The Manga13 abril 2025
 -
Centro Virtual de Cursos em Vídeo Aulas & Séries13 abril 2025
-
Edex Construtora e Incorporadora13 abril 2025

